Resources |
| Collections |
| Contact: photoguide@tiono.com |
Chapter
10.
Focus Stacking
Revision
1.0 2015. Copyright by Tiono
Email: photoguide@tiono.com
The idea is to create several identical photographs, but with different focus point, and then super-imposed (blend) those photographs by taking only the sharp area of each photo, while discarding other out-of-focus area. This technique is plausible although some limitation apply; it can not be used to take picture of moving object, and the camera shall be mounted on tripod. A camera with manual focusing ability, or selectable focus point, is also mandatory. |
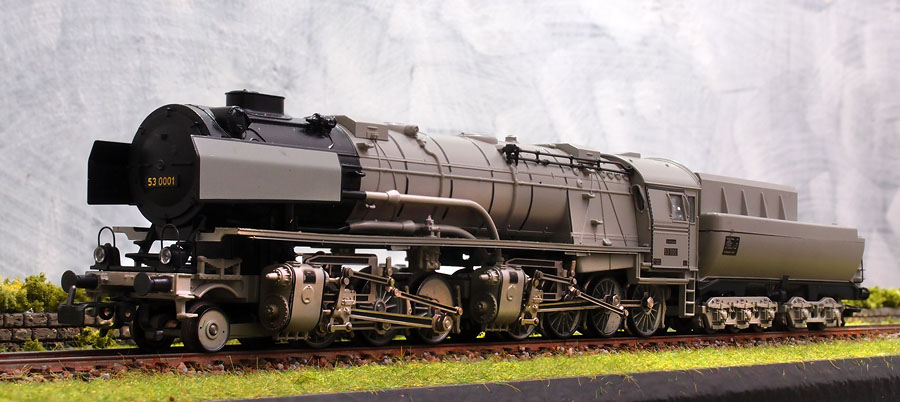
This is a picture of beautiful 1/87 scale locomotive BR 53 produced by Marklin in 1989.
During the film days, professional photographers used a specialized camera called "view camera", which possess the ability to slant the focal plane so that it will be able
to capture the whole locomotive in focus. But that kind of camera is out of reach to most of us, and very expensive.
I shot the above photograph using inexpensive digital compact camera, by implementing focus-stacking technique, I was able to capture the whole locomotive in focus.
Thanks to the advanced image processing software; Photoshop, which provide the tools to execute the focus stacking.
The Focus-stacking technique in step by step
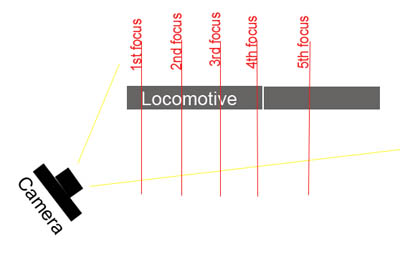
Photographing a train model, especially in an angled position, will certainly need extra wide depth-of-field due to the model's length. Therefore it can serve as a good
example to illustrate focus-stacking technique.
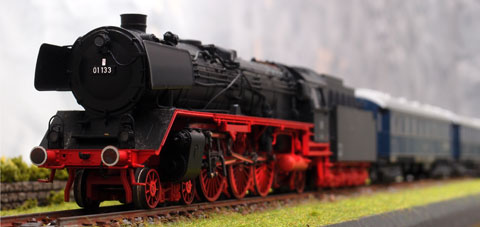
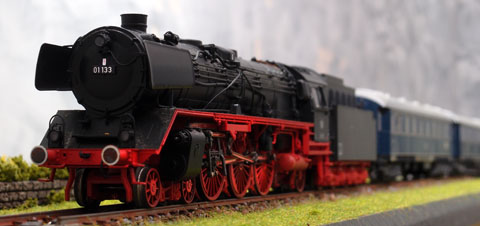
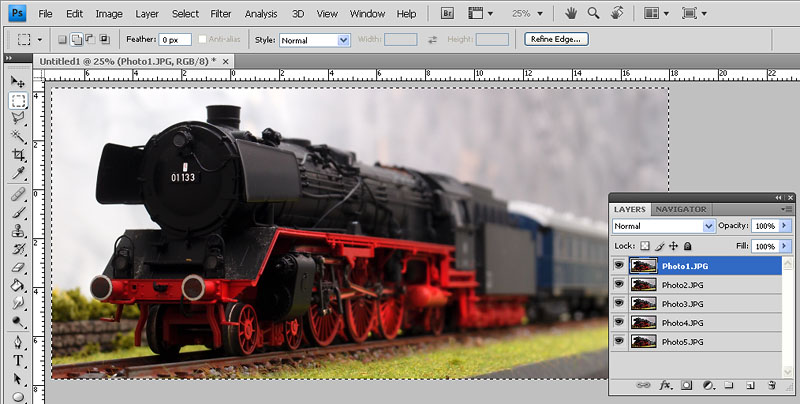
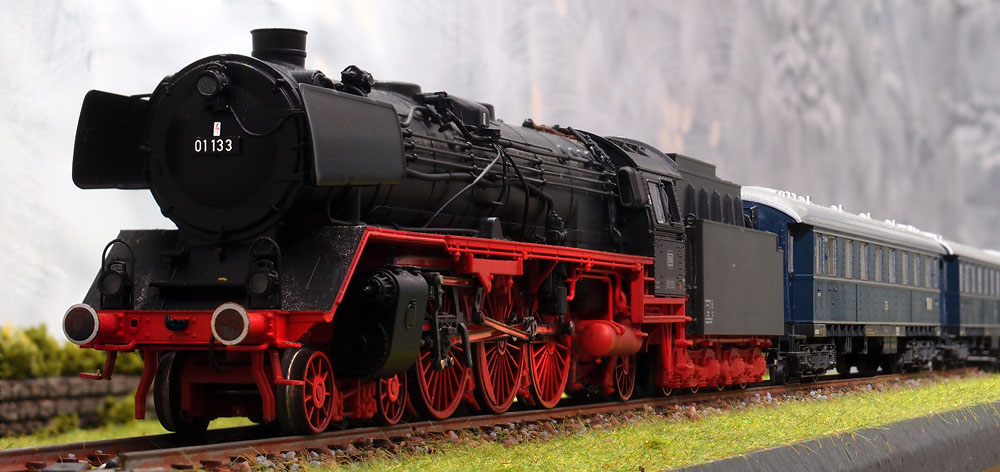
Below is a 1/87 scale model of German class 01 locomotive pulling several coaches. The whole consist could not be sharply focused in a single photograph, even
when I use a small sensor compact camera at f/8. I need five separate photographs to cover the whole consist in focus.
 |
 |
|
 |
 |
|
 |
 |
| 1. Load the image files into Photoshop as layers |
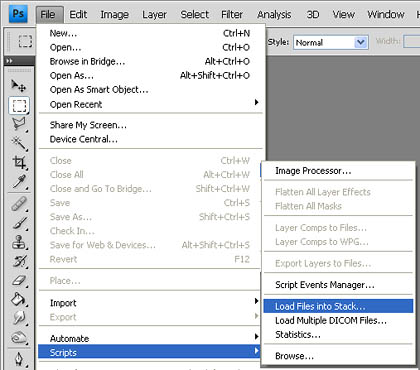 |
Open Photoshop's menu dialog; File ---> Scripts ---> Load Files into Stack Then select the image files, and check the Attempt to Automatically Align Source Images Click OK (Note: I am using Photoshop CS4. If you are using different version, then the menu may be different) 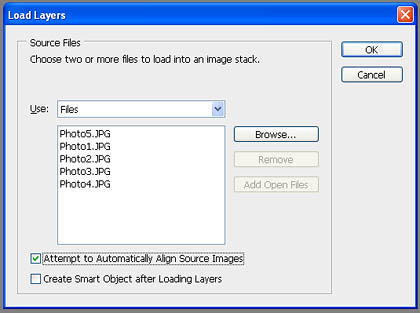 |
|
|
Upon loading, open the layer window. It will show as the picture on the left. |
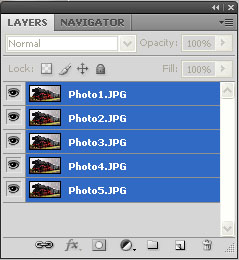
| 2. Select all layers |
|
On the layer window, select all layers. |
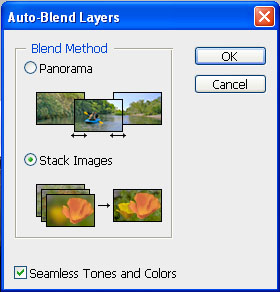
| 3. Blend all layers |
|
After selecting all layers, then go to menu: Edit ---> Auto-Blend Layers |
|
|
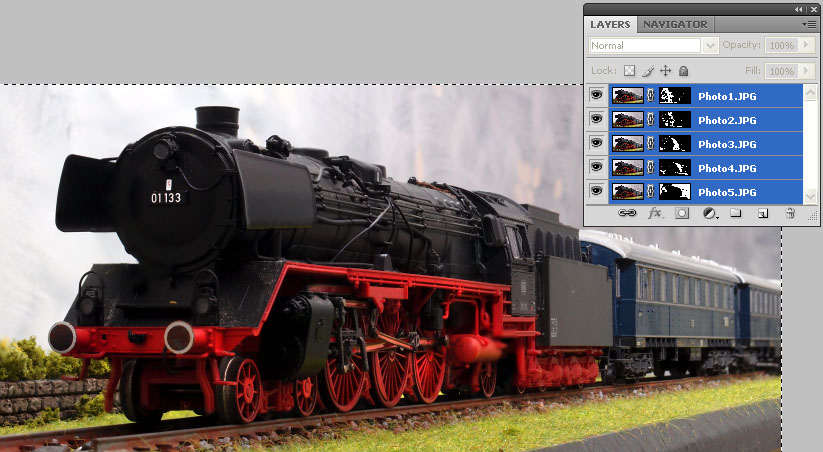
| 4. Rectifying incorrect blending |
|
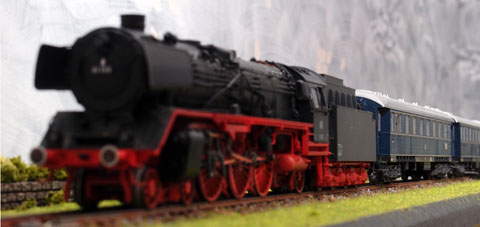
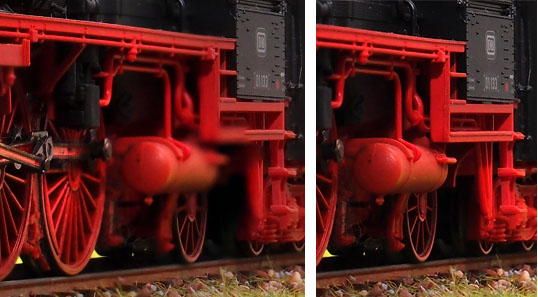
Sometimes there are several part on the image where Photoshop blended incorrectly (it chose incorrect frame), causing the picture to be blurry, as seen on the left photo. |
|
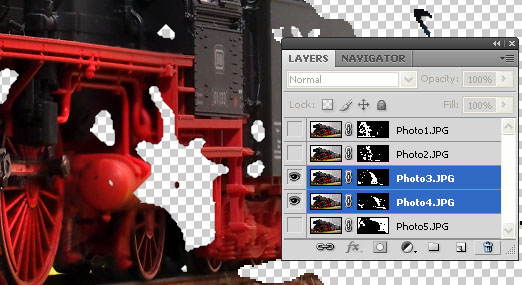 |
1. Since we know that Photo#3 (and #4) hold the correct image, then select layer 3 and 4, while hiding all other layers (click on the "eye" icon to hide or show). 2. Click on the layer mask (the black & white thumbnail on the layer) 3. Then use eraser tool to reveal the wanted image 4. Un-hide all layers, click layer mask of the layers above layer 3 (layer 1 and 2) and use paint-brush tool to erase the blurry image, so that the wanted image will appear. See "Cleaning up Incorrect Blending" for more information on editing of layer mask. The end result is a clean and sharp photograph below |
|
|
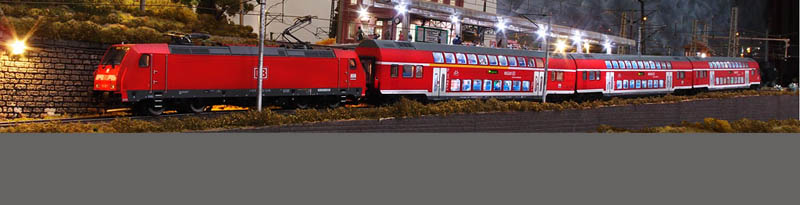
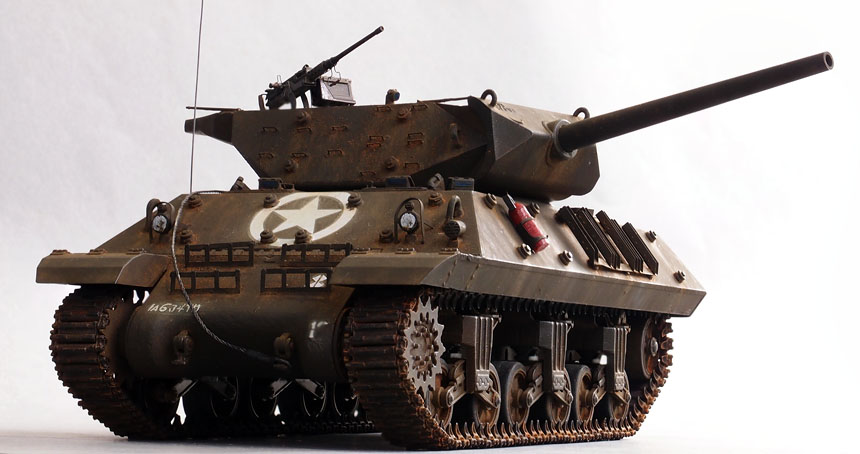
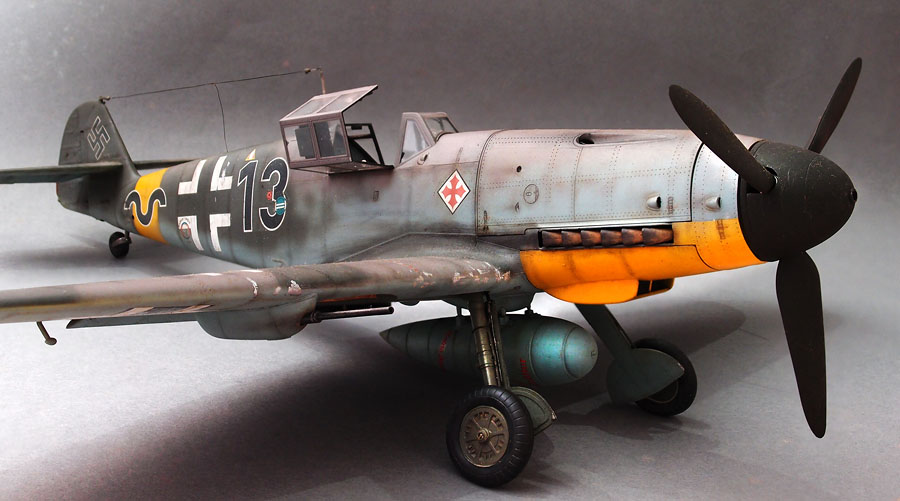
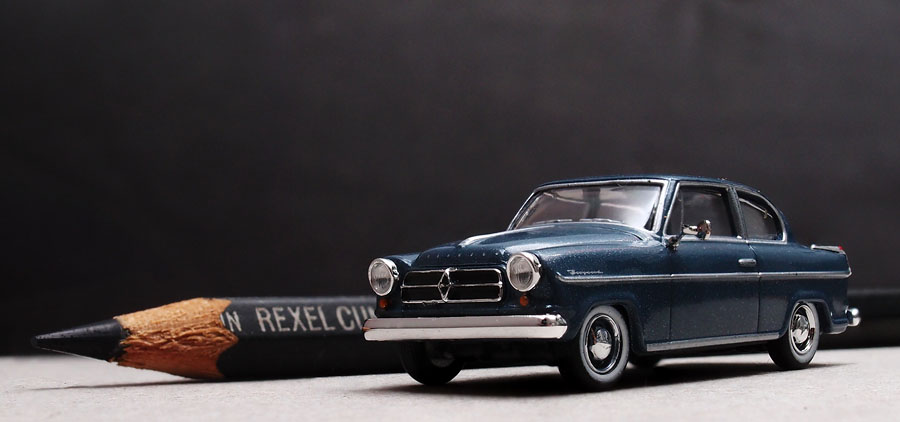
Below are examples of photographs which took advantage of focus-stacking technique to get extra wide depth-of-field.
| To achieve a better layer blending, manual "cleaning" must be done to smooth out patchy blurry nodes. Read the article below to view a step-by-step example Cleaning up Incorrect Blending |