Resources |
| Collections |
| Contact: photoguide@tiono.com |

Chapter 9. Photographing Diorama
Revision
1.0 2011. Copyright by Tiono
Email: photoguide@tiono.com
|
Before continuing on the light direction and background, let see one shooting trick using mirror which sometimes may be useful in photographing diorama. |
Shooting thru Mirror
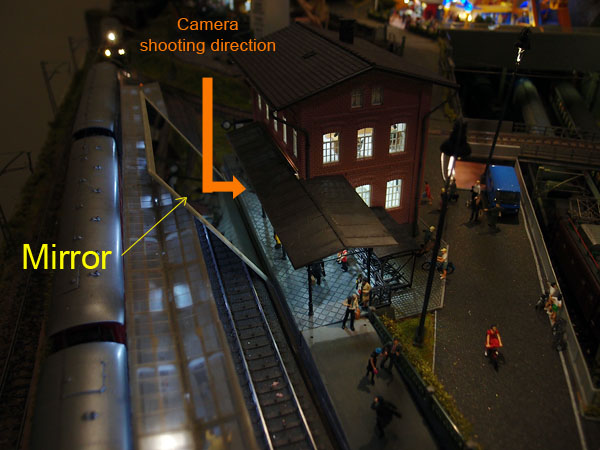 |
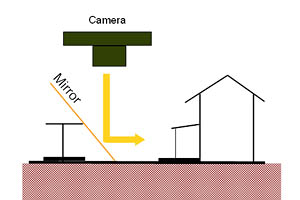 There are times when we want to take a photograph from certain angle, but was obstructed by another unmovable object on the diorama. In this situation, a mirror may come in handy. For example, I wanted to take picture of a station platform, but there was another platform obstructing the view (see the photo on the left). So I put a small mirror angled around 45 degree, and shoot from above. The photograph below was the result. |
|
 |
||
Note: |
Background
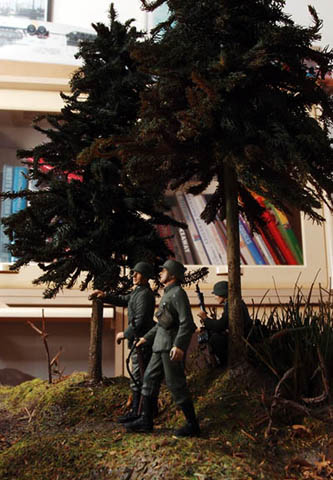
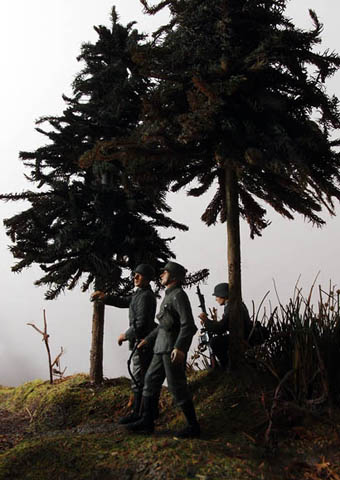
Background will always play an important part on any miniature photography, especially in diorama. As a diorama photograph was created to mimic a "real life" image, therefore a cluttered background will certainly deprive its impressiveness. Some people will put pictures of sky with some clouds, or scenery, as their backgrounds. But you do not need going to such extend. A plain background will do. The most important thing to remember is: avoid cluttered background or showing part of your room inside a diorama photograph. |
 |
 |
 |
Direction of Light
In a diorama, the direction of light should reflect the direction of sunshine as intended by the photographer. Therefore think your main light source as the "sun" of your diorama. Diffused lighting will create a similar condition as overcast or cloudy day. |
 |
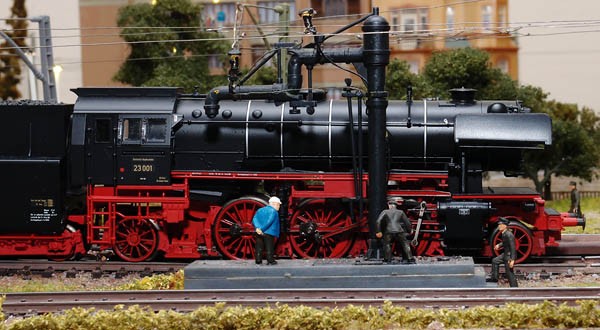
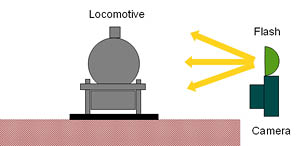 This photo was taken using external flash mounted on the camera. Frontal lighting. Although it is slightly better than using the camera's built-in flash, but the frontal lighting still result in "harsh and flat" looking photograph. |
|
 |
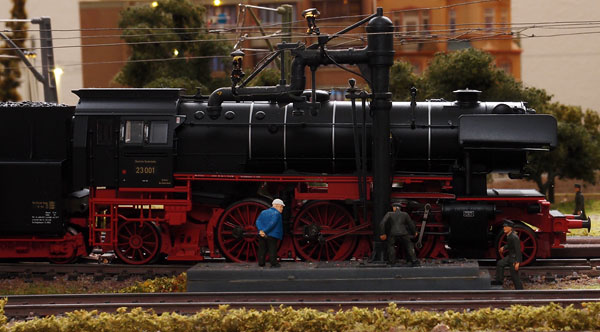
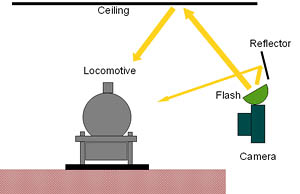 This photograph was created using external flash mounted on the camera, but tilted upward to bounce on the ceiling, with a small reflector to provide fill-in light. The result was a diffused lighting. |
|
 |
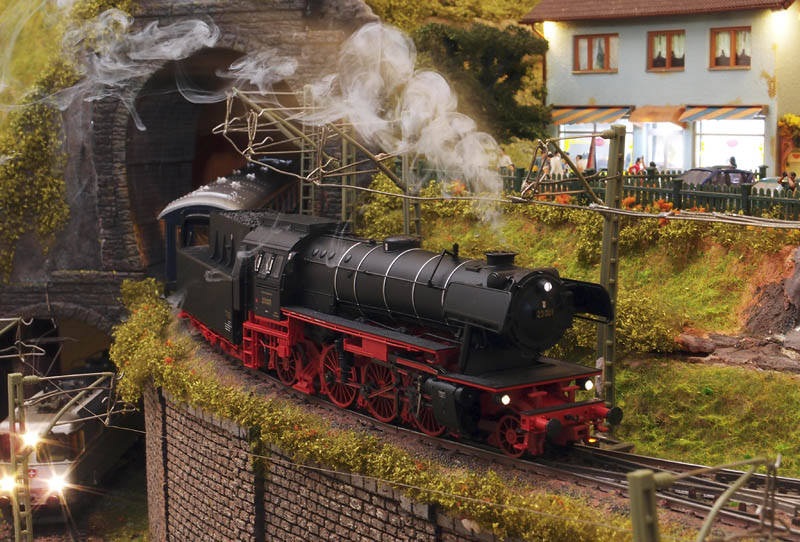
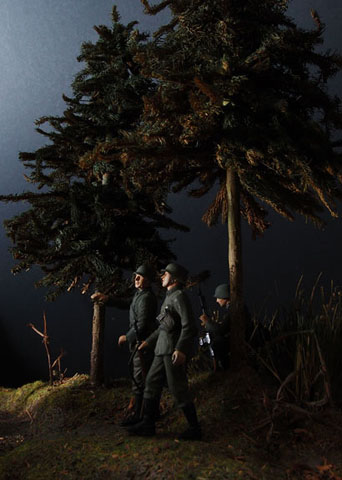
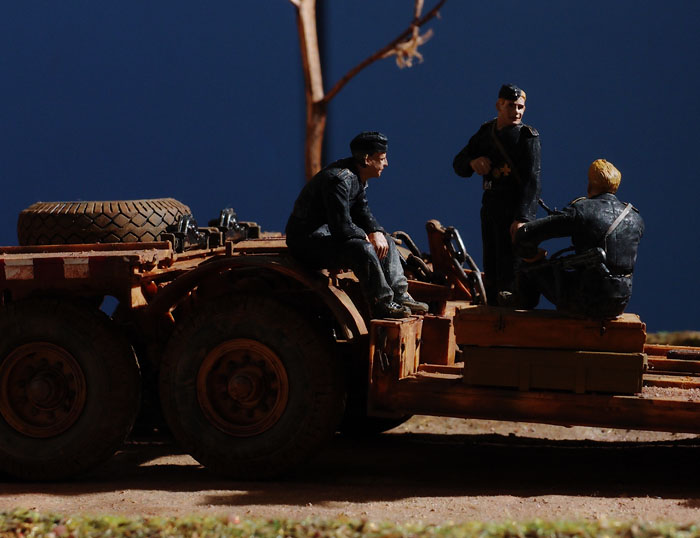
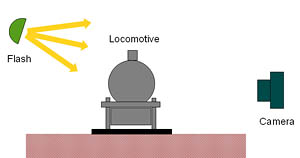 With the light source was located behind the object (but outside the camera's viewing angle), this is a back-lighting. This kind of lighting may work dramatically on some composition, but may not work on another. So this is a "hit-and-miss" option which you may sometimes consider. |
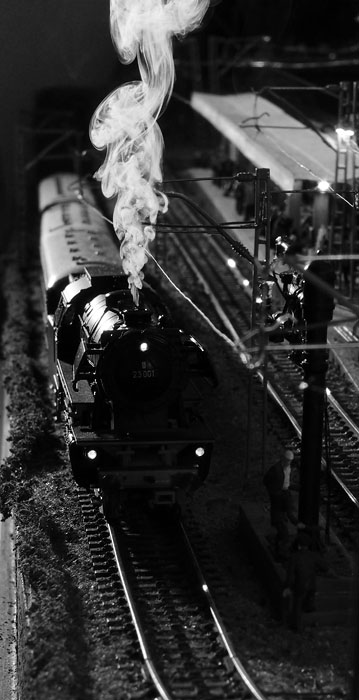 |
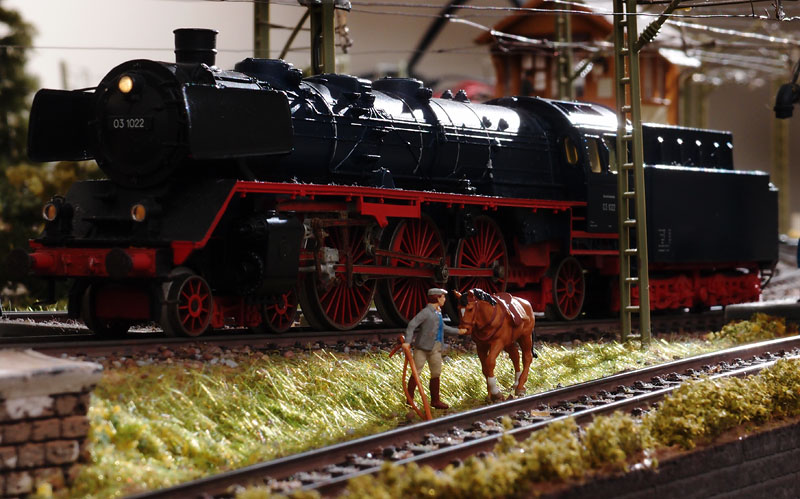
The two photographs below demonstrate the effect of diffused-lighting versus back-lighting, well, in this case; side-lighting. |
 |
 |
Capturing Interior Lights
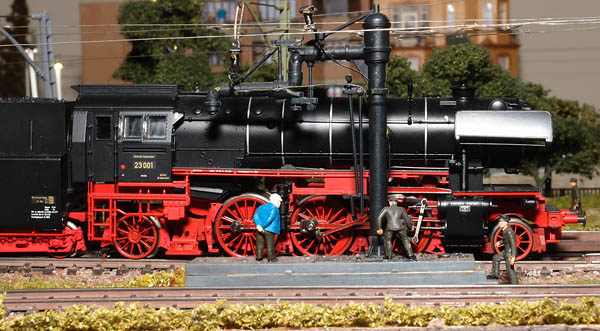
Sometimes certain objects within the diorama (cars, train carriages, buildings, etc.) emit lights, or have interior lighting. We may want to preserve that lights in the photograph to show. This can be a bit challenging considering the lights are usually not bright enough. |
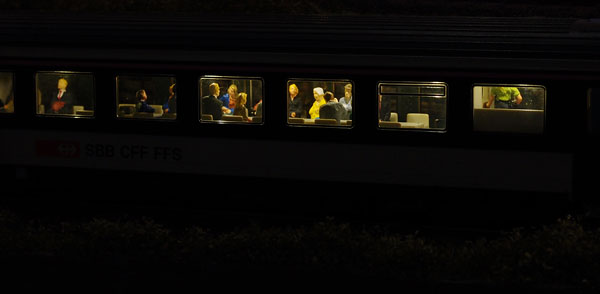 |
This is a 1/87 scale of SBB salon coach. It had passengers sitting inside, and interior lighting from low-powered LEDs. The first step is to get the correct exposure of the interior. Reason being; I can not adjust the brightness of it, while I can adjust the brightness of exterior light (or flash). The photograph on the left was the result. Once I got the correct exposure for that interior, then I start to increase the exterior lighting. In this case, I used manually adjusted flash. |
|
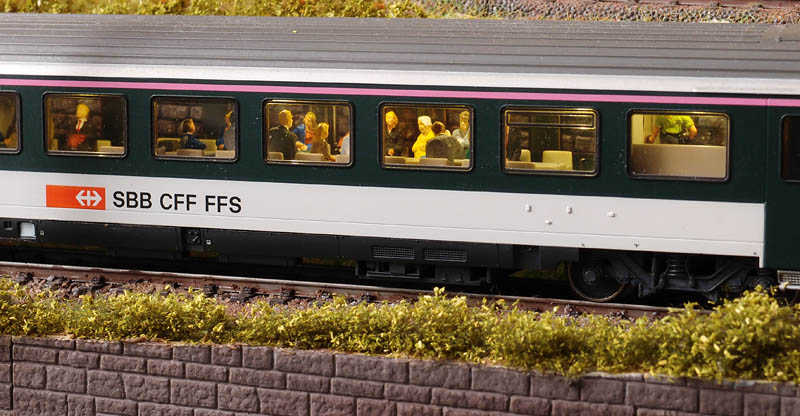
You can increase the light's brightness step by step until you get a balanced lighting. This is trial-and-error. If you own an external flash able to be set to "auto mode" (usually displayed by a letter 'A' on the flash's panel), then set it as per your current camera aperture setting, no more trial-and-error. (for those who has knowledge on photographic gear, may read the explanation regarding 'auto mode' here: http://dpanswers.com/content/genrc_flash.php#auto ) For example: while photographing the above coach, I found out that f/5.6 at 1/20 second (ISO 100) was the correct exposure for the interior. Therefore I set the flash to 'A' (auto mode) at f/5.6, and shoot. The photograph below was the result. |
||
 |
||
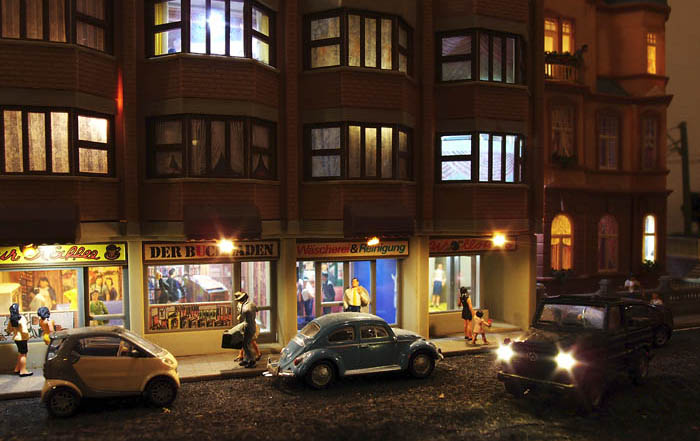 |
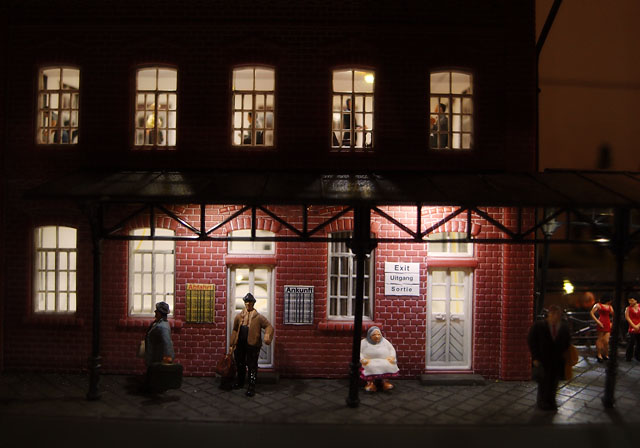
Photo on the left is another example of preserving the interior lights, but since it portray a night scene, therefore no exterior lighting was being used, apart from the dim room light. This photo was shot thru mirror. 1/87 scale street scene with LED lights, including the headlight of the MB SUV. |
Next Chapter >>
|