Resources |
| Collections |
| Contact: photoguide@tiono.com |
|
|
How
to spin the propeller; the steps |
| Note: This section requires certain level of expertise in using Photoshop.
The process of "spinning
the propeller" sometimes is easy, but some other time may be difficult. |
|
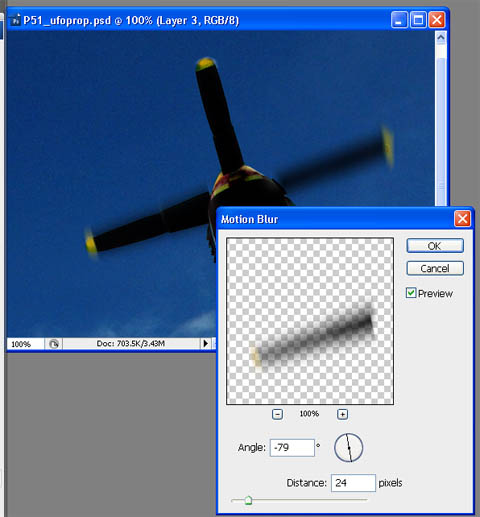
| Select the Filter
menu ---> Blur ---> Motion Blur Adjust the direction of motion by altering the angle. This direction must be correctly represent the moving direction of the propeller blade. Now adjust the Distance. This will determine the length of the blurring. Sometime it will give better result by blurring several times with small distance rather than one single long distance. |
 |
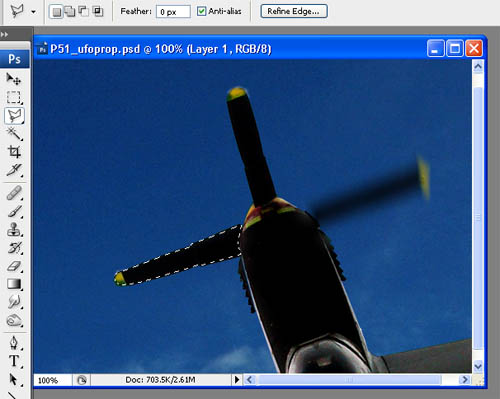
| After
blurring, remove the original blade. Select the correct layer, then select
the blade, and cut. |
|
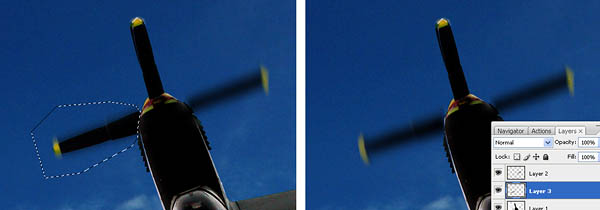
| The same process can be done for propeller blades which intersect the body. But instead of removing the original blade using Cut, you have to use Healing Brush. Patiently "redraw" the body skin overlayed by the blade. | 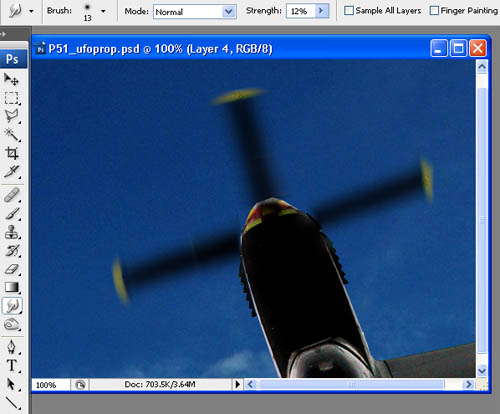 |
|
|