|
|
|
Single
shot super-imposed background
Revision 1.0 2007.
Copyright by Tiono
|
Detailed
Steps
Note:
This section requires a basic knowledge in using Photoshop.
In this method, the goal is
to eliminate the acrylic sheet used to sustain the model. And also eliminating
the under-carriage.
One thing to note: if the background is
not as simple as the cloud in the sky, then you shall not use acrylic
sheet, but use wire to hang the model.
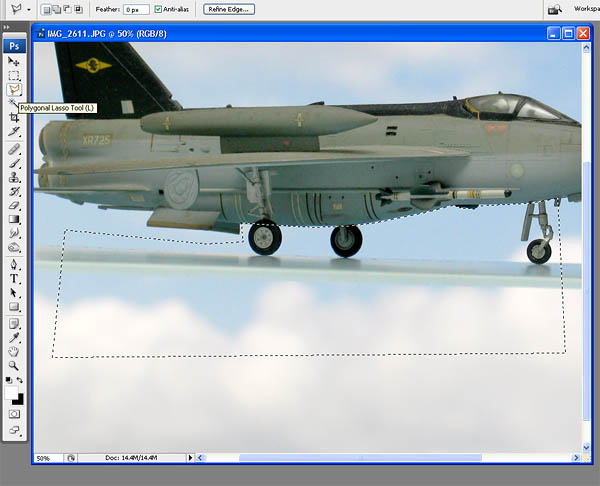
The first step, is to create selection area. Select the area surronding
the items to be removed. Photoshop provides several tools to do this.
I choose the Polygonal Lasso, altough it is completely manual, but able
to provide precise selection as I wish. |
|
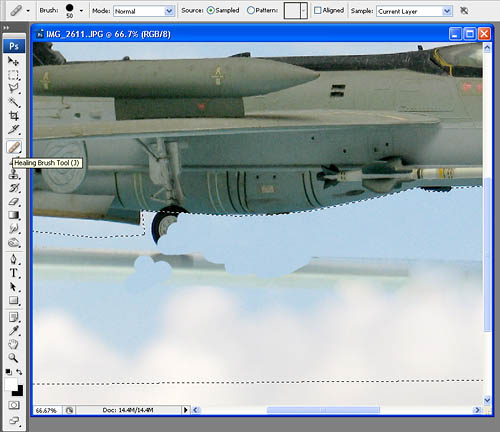
Second step:
Use the Healing Brush tool, to erase the wheel and the sheet.
Select either 'Normal' or 'Replace' mode. At certain area, e.g.: the wheel
near fuselage, you have to use 'Replace' mode. But to erase at the cloud
area, it is better to use 'Normal' mode.
Note: After erasing by 'Replace' mode,
always use 'Normal' mode to clean-up the periphery of the portion which
just erased. This is to smoothen the "healed area", making more
natural transition.
Use
Alt and mouse left click prior of using healing brush, to select the master
area which will be patched into the healed area. |
|
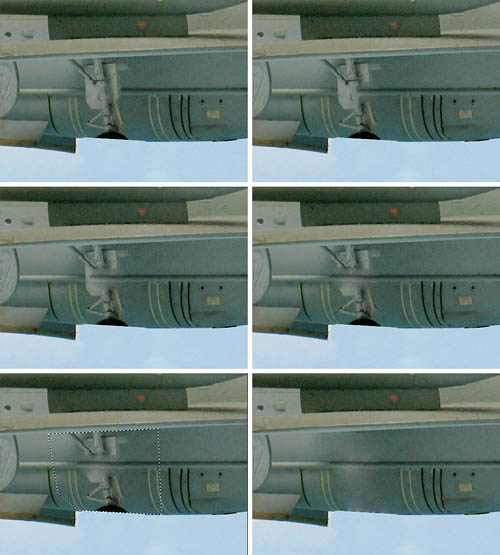
Third step:
After erasing the acrylic sheet, everything looks okey. But we still left
portion of under-carriage.
Now it has to be erased too.
This is done using Healing Brush tool. The master-area is just next to
the wheel strut, so it will preserve the body lines. See the sequence
at right.
Of course, this is impossible to do if the details at aircraft's body
behind the wheel is too complex. So the best way to is to avoid the undercarriage
in the photo altogether.
Note: make a selection area
before erasing the wheel strut near the wing, and near the bottom. |
|
|