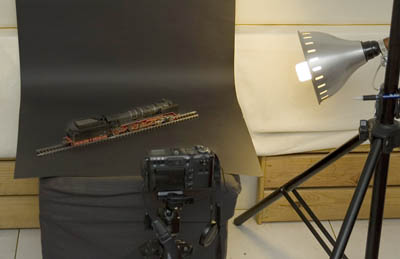
At the start of each step, after preparation of the models and light
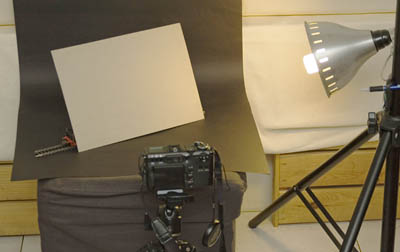
but before taking any photograph, put a grey paper at the front of the models.
Slant slightly so that the light will illuminate it.
Note that the paper must be grey color (called "grey card" or
"18% grey" in photography). This is due to the camera's metering system which
by default was calibrated to measure "grey tone". If you don't have grey paper,
you still can use ordinary white paper, but have to adjust the
exposure later on.
Now take measurement using the camera. Usually by pressing the
shutter halfway, the camera will display the measured exposure
(the value of aperture and speed). Write down those values.
If your digital camera is unable to show the exposure measurement, then
you have to press the shutter, take one picture of the grey card.
Then see the file, either directly thru the camera or thru a computer,
check its EXIF data. It will show all of the values related to exposure.
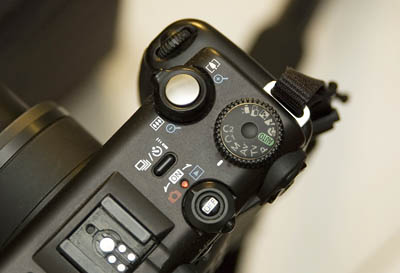
Set the camera to manual exposure mode, then set the value of
aperture and speed, as according to the values acquired on step
number 2. (please consult the user guide of your camera if you do not
know how to do it). Do remember that "manual mode" is not referring
to focusing mode. You do not need to change the auto-focus mode..
For
those with fully automatic camera without manual mode, may still use the
same steps provided here, except that the blank grey-card shall be substituted
with a patterned paper (example: a magazine page which has a grey background,
or a photo). Put the paper exactly on the side of the model, and focus
the camera to the paper. Keep holding the shutter half-way, then take
out the paper, and press the shutter.
Probably you will need somebody to help you holding the paper.
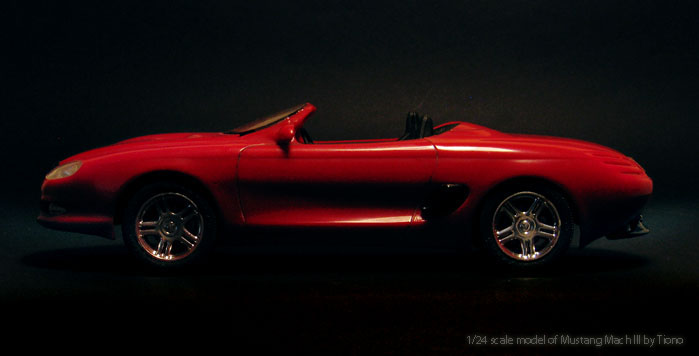
Start taking pictures now.
As long as there is no changes to the position of light and the models,
the settings will stay the same.
So you may take as many pictures as you want.
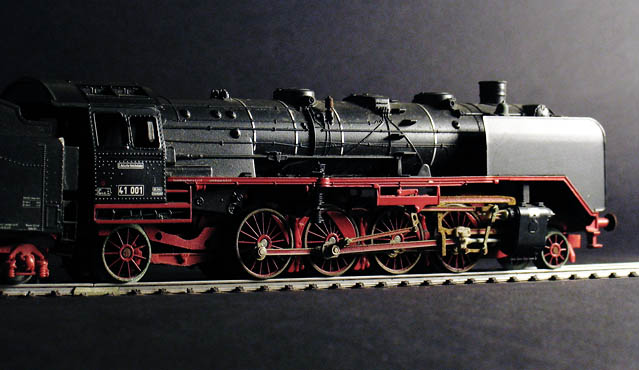
The above photo is one of the result. If you prefer an even background,
adjust the position of
light and model against the background, so that it will not reflect the
light toward the camera.